
Photography is more than just capturing moments. It’s about telling stories. One way to make your photos stand out is by using lens flare effects. The Photeeq lens flare tool helps you do just that. It adds light, drama, and emotion to your images.
Let’s explore what Photeeq lens flare is, how it works, and why so many photographers use it.
What Is Photeeq Lens Flare?
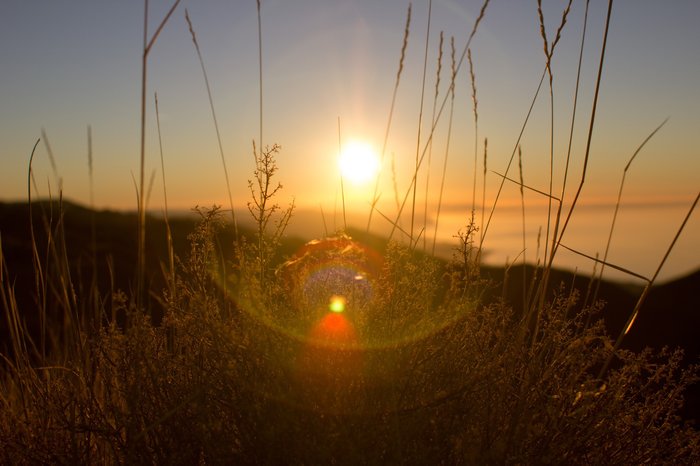
Photeeq lens flare is a digital tool that adds realistic flare effects to photos. It mimics the natural light that hits a camera lens, creating beautiful streaks and circles. These flares add a cinematic and dreamy feel to your images.
This tool is part of the Photeeq photo editing plugin. It works inside popular programs like Adobe Photoshop and Lightroom. You can apply lens flares with just a few clicks.
Why Use Lens Flares in Photography?
Lens flares can do more than just decorate a photo. They enhance mood and create emotion.
Here’s why photographers love them:
1. Create Atmosphere
Lens flares add light and warmth. They make outdoor photos feel sunny and dreamy.
2. Add Drama
A strong lens flare can add tension or mystery. It draws the viewer’s eye to a certain part of the photo.
3. Tell a Story
Flares help tell a visual story. A sunset with a flare feels more emotional and alive.
4. Boost Aesthetic Appeal
Whether you’re editing portraits, landscapes, or city shots, flares give a polished, cinematic look.
What Makes Photeeq Lens Flare Special?
There are many lens flare tools. But Photeeq lens flare stands out for a few key reasons:
1. Easy to Use
Even beginners can use Photeeq. You don’t need advanced editing skills.
2. High-Quality Effects
Photeeq offers high-resolution effects. They look natural and professional.
3. Customizable Settings
You control the flare’s size, color, angle, and brightness.
4. Works with Top Software
Photeeq integrates with tools like Photoshop, Lightroom, and Elements.
5. Fast Workflow
The plugin runs smoothly. It doesn’t slow down your editing process.
How to Add a Photeeq Lens Flare in 5 Simple Steps
Adding a lens flare with Photeeq is quick.
Follow these easy steps:
- Open Your Image
Start by opening your image in Photoshop or Lightroom. - Launch the Photeeq Plugin
Find the Photeeq plugin in your filters or extensions menu. - Choose the Lens Flare Tool
Select the lens flare option from the tool menu. - Pick a Flare Style
Browse the flare library. Choose one that fits your photo’s mood. - Adjust and Apply
Use sliders to adjust brightness, position, and color. Then apply the effect.
Tips for Using Photeeq Lens Flare Like a Pro
Want professional results? Keep these tips in mind:
Match Light Direction
Make sure the flare lines up with the light source in your photo.
Don’t Overdo It
Too much flare can look fake. Use it to enhance, not distract.
Use Warm Tones
Warmer flares often look more natural, especially in sunset or golden hour photos.
Try Different Shapes
Experiment with circles, streaks, and starbursts. Each one creates a different mood.
Types of Lens Flares in Photeeq
Photeeq offers a wide range of lens flares. Each one suits a different style.
Here are some popular types:
Sunburst Flares
Great for outdoor daylight photos. Adds a glowing sun effect.
Rainbow Flares
Adds colorful rings. Perfect for artistic portraits.
Warm Glow Flares
Mimics golden hour lighting. Ideal for sunset shots.
Streetlight Flares
Best for night photography. Adds drama and urban feel.
Real-Life Uses of Photeeq Lens Flare
Many creators use Photeeq lens flare for different projects:
Wedding Photography
Photographers use it to add soft romance to outdoor portraits.
Landscape Shots
Lens flare adds depth and focus to mountains, lakes, and skies.
Short Films & Videos
Editors apply flares to give scenes a cinematic look.
Social Media Posts
Influencers and content creators use flares to boost photo appeal.
Fine Art Prints
Artists add flares to create dreamy, storytelling images.
What Users Say About Photeeq Lens Flare
Thousands of users trust Photeeq. Here are some common reviews:
“Photeeq lens flare makes my photos pop. It’s my go-to editing tool for light effects.”
– Sarah M., Portrait Photographer
“I love how easy it is to use. I can create stunning edits in less than five minutes.”
– Carlos T., Travel Photographer
“The flares look real, not fake. It gives my images a true cinematic feel.”
– Jenna K., Instagram Influencer
Comparing Photeeq Lens Flare to Other Tools
Let’s compare Photeeq with other popular flare tools:
| Feature | Photeeq Lens Flare | Photoshop Built-in | Lightroom Presets | Mobile Apps |
|---|---|---|---|---|
| Easy to Use | Yes | Complex | Yes | Yes |
| High-Quality Effects | Yes | Yes | Varies | Varies |
| Professional Look | Yes | Yes | Sometimes | Basic |
| Customization Options | Full Control | Advanced | Limited | Minimal |
| Works with Adobe Tools | Seamless | Yes | Yes | No |
SEO Benefits for Visual Content Creators
If you’re a blogger or content creator, using Photeeq lens flare helps beyond just visuals.
Better Engagement
Photos with lens flares get more likes and shares.
Improved SEO
Images with engaging visuals keep users on your site longer.
Branded Style
Add a consistent light effect to make your photos instantly recognizable.
Common Questions About Photeeq Lens Flare
Is Photeeq Free?
Some versions are free, but premium features may require a license.
Can Beginners Use It?
Yes! It’s designed for all skill levels.
Does It Work on Mac and PC?
Yes, Photeeq supports both systems.
Can I Use It in Lightroom?
Absolutely. It works as a plugin for Lightroom and Photoshop.
Final Thoughts: Why Choose Photeeq Lens Flare?
The Photeeq lens flare tool is more than a simple effect. It’s a way to transform your photos into powerful stories. Whether you’re shooting portraits, landscapes, or products, adding the right flare can make your image shine.